 ASCII
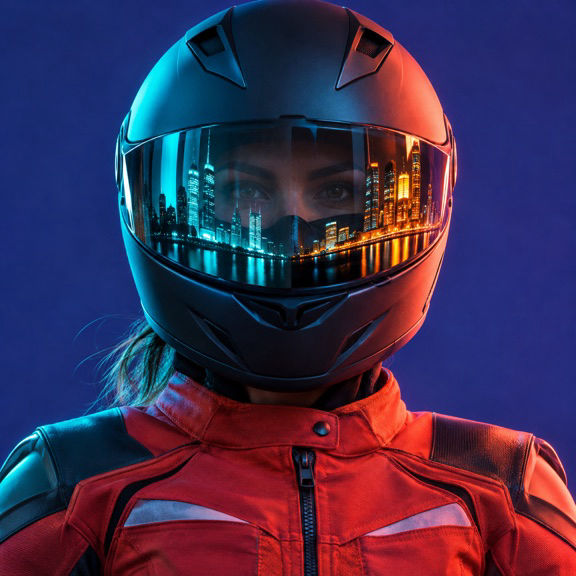
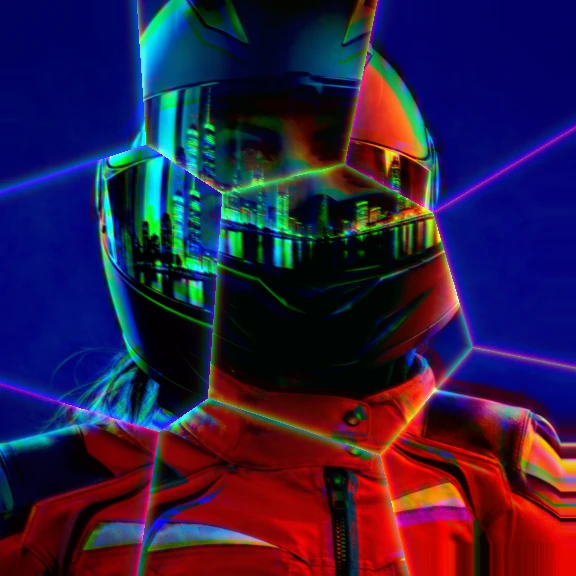
What the effect does

Green and blue split at the rim.

Window reflections break into bands.

Color fringes trace the red folds.
Make it on iPhone
-
Import
Open your media in ASCII Lab.
-
Tune
Select the effect and check the preview.
-
Export
Choose a format and save your result.
Where to use it


Give the fringes clear lines to follow
The helmet in the original already has a few bright diagonal strokes from the set lights. In the rendered frame the rim takes on strong colored fringes, and reflected windows split along the middle of the visor. Those edges tell the viewer where the visor curves. The dark front of the helmet helps the strongest offsets read with very little additional light on the subject.
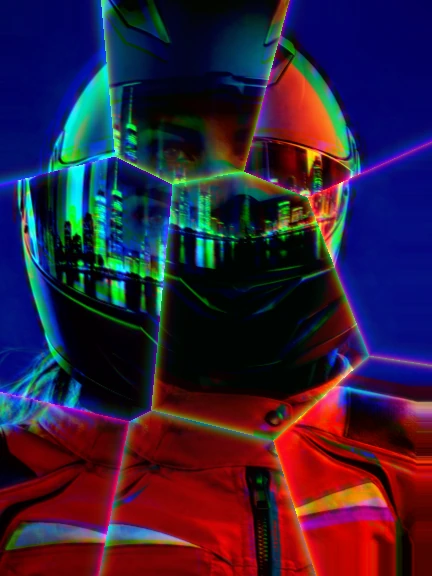
Start with reflections, signage or a silhouette against colored light. You can use a close view of wet glass, an instrument under two different stage lights or a rain soaked pavement with a few distinct signs. A brightly lit scene with detail in every corner can become hard to organize once several edges move apart. Look for a frame with two or three distinct highlights and a darker interval between them. If the lines are already touching in the original, find a slightly different angle and compare the result.
Decide which edge will carry the shot
Set the crop and find one line you want to keep legible throughout the clip. For a helmet it could be the bend of the visor, while for a guitar it could be the top of the body. Move contrast until that line separates from its surroundings without turning the highlight into a solid stripe. Lower brightness if the reflections are clipping into one large patch. Compare the same angle when you change density so you can tell whether the character structure is helping or competing with the fringes.
Set the crop and find one line you want to keep legible throughout the clip.
If you add glow, inspect where two bright contours come close together. A little extra light can draw the eye to the bend in the visor, but too much can erase the gap between the lines. Open the picture at the size it will actually be seen. For video, check a point where the bright object crosses the frame edge. Leave enough margin that the colored portion is visible throughout the move. A pan with the brightest point always at the border can hide the best part of the treatment.
Shoot for a reflective moment
For a vertical style Reel, turn toward the main light instead of zooming toward it. One clean reflection moving along a visor or metallic bag can give the short clip a natural beginning and end. Frame the shoulder or the hand as a reference while the light breaks across the surface.
For a cover image, align the title with an unbroken patch of shade and let the prism colors mark the object. Pulling the title back into the shadows can be more effective than adding a thick border around each letter. Export and view the crop beside the clean version before you settle on the stronger one.
For a performance clip, try applying the effect to cutaways where the lighting already changes, such as a performer stepping past a bright sign. Keep a similarly lit clean angle in the edit so the viewer can identify the place. When the color fringing crosses the edge of a lamp, it provides a change you can time to a beat or a cut.
Questions
Will it turn an ordinary photo into different colored edges?
Yes. The effect works with existing edges and reflections. A reflective surface or a strongly lit outline gives the color separation an especially clear shape.
What access is required?
Prism Refraction is a Pro effect. New installations require active Pro or an eligible active trial after onboarding. The Pro export limits are 2400 px for PNG and 30 seconds per MP4 selection.


