 ASCII
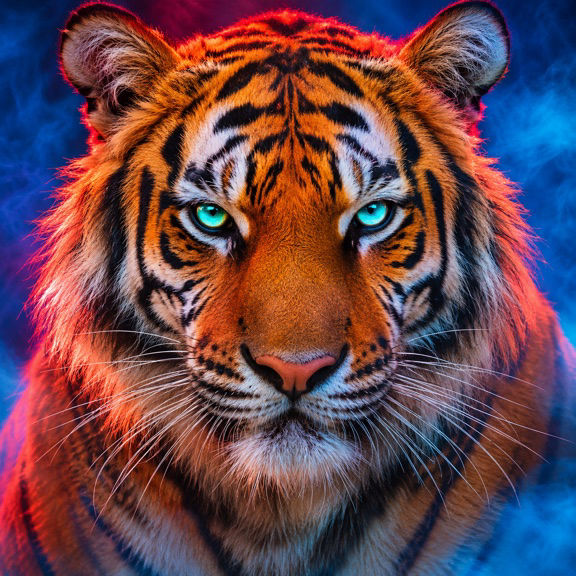
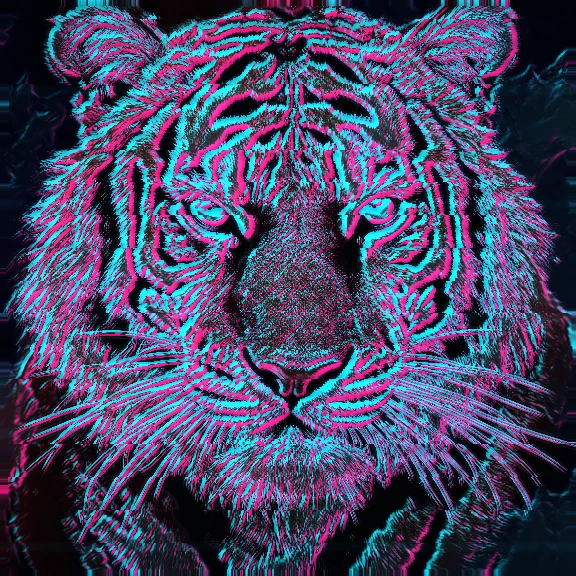
What the effect does

Pink and cyan split around the rim.

Bright traces follow the dark stripes.

Thin contours separate the whiskers.
Make it on iPhone
-
Import
Open your media in ASCII Lab.
-
Tune
Select the effect and check the preview.
-
Export
Choose a format and save your result.
Where to use it


Choose a subject with an outline and interior landmarks
The tiger portrait shows both kinds of edge. The ears and jaw anchor the silhouette. Stripes, eyelids and whiskers give structure inside it. In the treated image, nearby traces show up in cyan and pink. Most of the surface falls away into darker areas. The eye still knows where to look because the stripes follow the cheeks and the nose marks the center of the shape.
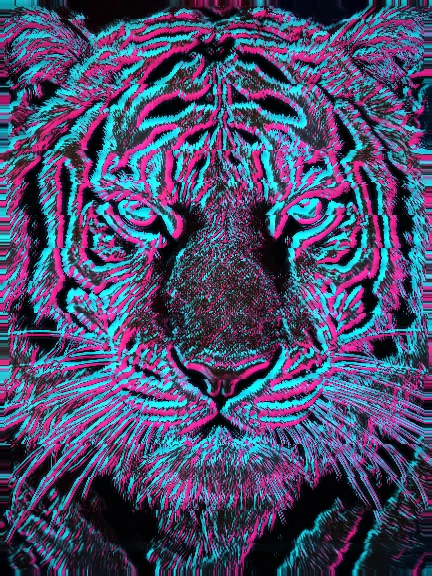
Try something with the same balance, such as a face in slanting light or a bicycle photographed from the side. With a face, the eyebrow and cheek can remain legible if you leave a dark margin around them. With a bicycle, one row of spokes is enough to establish a wheel. A fence behind the bike can add several competing outlines, which is a good reason to change your angle. A subject with an unbroken boundary and just a few interior lines often keeps its identity at a smaller size.
Look for places where traces touch
Set contrast while watching neighboring lines. If the fur around the tiger’s nose turns into a bright patch, lower the contrast and see which individual lines return. Pull brightness down slightly if the background texture takes over. Increasing density can uncover a whisker or thin fabric thread, but the result may lose its shape at thumbnail size if all the small ridges are equally loud. Use a reading distance that matches the final use.
Set contrast while watching neighboring lines.
Frame the outline early. A close crop can make the lines inside the face more expressive and leave the ears out. A wider crop can preserve the symmetry and add a quiet margin for a caption. If you use glow, inspect the thin traces around high contrast features first. For moving footage, watch how the outline survives a turn into shadow. Select the part of the move in which the silhouette and one interior detail remain visible.
Build around a clear edge
For a test with a still, look at a dark outline against a bright blank wall and compare it with the same subject against foliage. You can see immediately how background detail changes the amount of line work. Choose the background according to where you want the viewer to look first.
For a portrait cover, take a profile with a rim light along the jaw. Leave space on the side the person faces and set the title there. On a small cover the empty area can make the line art easier to see. Try a design with only the portrait and one line of type before adding a second color or a frame.
For a music visual, try one shot of a player’s hands on the instrument. The fingers and the edge of the instrument give you two distinct shapes. If the room is full of other illuminated equipment, choose a lens angle that puts the hands against a plain surface. Hold the composition through one phrase so the outlines can move without constantly changing location.
For a Reel, compare the original and processed view at the same size, with a pause at the point where the subject is recognizable. If hair or fabric looks busy, reduce the treatment’s visible detail by widening the crop or trying a more evenly lit take. When the first frame reads well, the rest of the clip can reveal the finer lines as the person moves.
Questions
How does this differ from a cyan hologram effect?
Holographic Contour emphasizes borders and interior edges. Hologram Signal is suited to a cyan broadcast look over the whole surface.
Can I export the contour as editable lines?
The app renders a PNG still or an MP4 clip. Holographic Contour requires Pro to export. After onboarding, a new installation needs active Pro or an eligible active trial.


